Shout out to my cool teammates on Rider for forcing me to be a good programmer and write some documentation.
Starting jantrack
- Execute the jantrack login shell script from the collab space install.
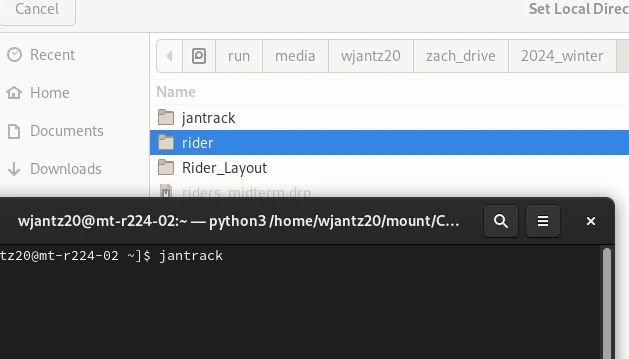
- Launch jantrack by typing ‘jantrack’ in the terminal.
- Select the local directory you are working from.
- For the sake of organization try to keep this directory as similarly named as the network project directory.

Add a shot
- Select ‘Add Shot’ and enter the shots name.
- This shot name should correspond with a project hip file
- To create a new .hip file for a jantrack shot create a new file with the shot name and version number starting at 0. This file should be saved in your local jantrack directory.
- To version up the file and send to the collab space use the ‘Version File’ jantrack shelf tool.
Add an asset
- Select a shot to add an asset to.
- Make sure that if you are versioning up an asset that you change the name or version of the asset
- Select the asset file from your local directory
Add a Multi component asset
- Multi component should be used for a limited number of assets mainly FX caches and texture sets
- Add a multi component asset and select the directory that contains the asset
Asset naming conventions
The naming convention for rider [namespace][file name][version][extension]
Example: fx__010_0010_flagcache_v0001
Example: tex__roborider_texset_v0015
Example: asset__blindrider_v0003.fbx
Example: tex__stormrider_roughness_v0001.1001.png